
How to DIY wood bead wreath with florals
Want to know how to DIY a wood bead floral wreath? It’s easy, let me show you how quick and easy it is by using just a few supplies.

Recent trendy boho farmhouse decorating wouldn’t be complete without a string of wooden beads draped over a bowl, a lampshade, a book, hanging on a knob, or anywhere you like. Another wooden bead decor that caught my eye was the gorgeous wood bead floral wreaths.
Some of the links below are affiliate links, however, all opinions are my own, see my full disclosure

When I saw these wood bead floral wreaths all over Pinterest and Etsy, I had to try my hand at it. I love the simplicity of them.
One of my favorite things I like to create is wreaths. You can see some of my Christmas wreaths and Valentine’s Day wreaths.
This is such a quick and easy project, it’s instant gratification. I love projects like that, don’t you?
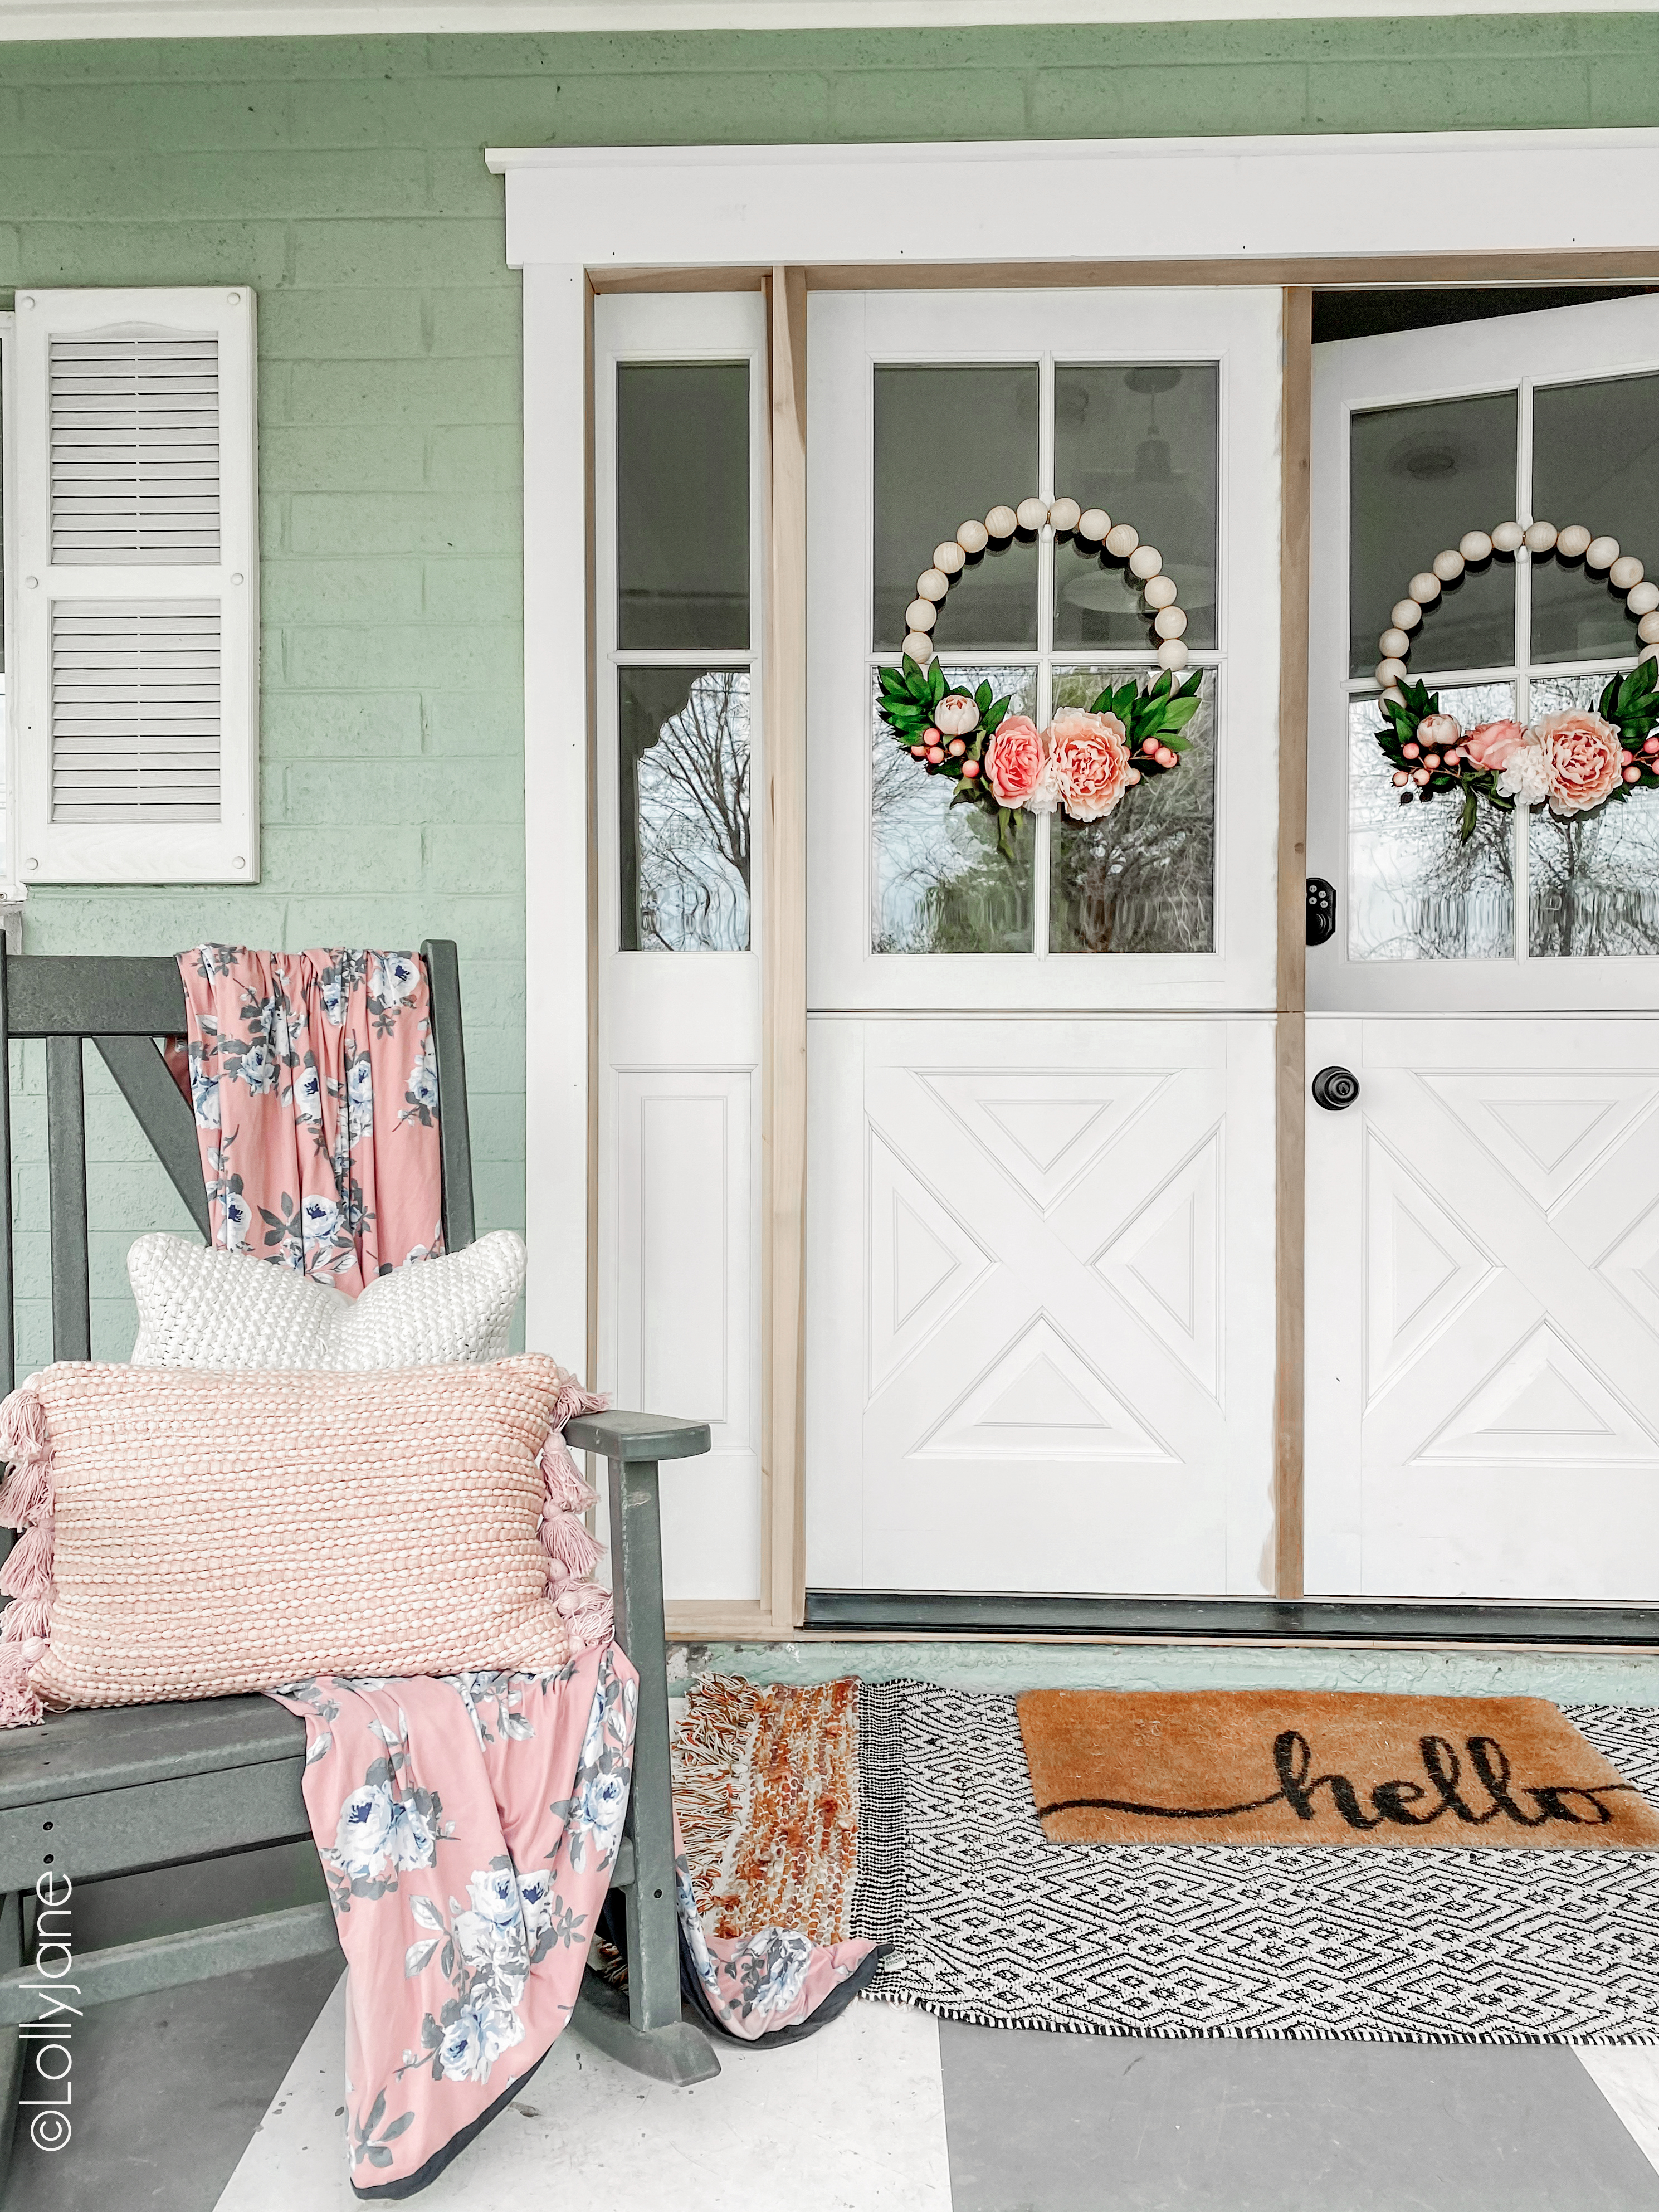
Some of them are made with round beads using round wire wreath form. But, I wanted the wreath to sit flat on my front door so I used these split wood beads.
Let me show you how to make a beautiful wood bead floral wreath.
Gather your supplies for the DIY wood bead floral wreath
1.5″ or 2″ pine wood split beads


How to DIY wood bead floral wreath
I love quick and easy projects and this is one of them. This one can be done in less than 1/2 hour.
Let’s get started, shall we?
After you’ve gathered all your supplies, cut off the floral stems from the bunch.
Add glue to the split wood bead and place it on the wreath form. Glue the beads around 3/4 of the way, leaving the rest of the way for the flowers. I used 19 beads to cover the area of the wreath form.


Before securing the flowers on the wreath base think about how you want it to appear. Place the florals in their place and move them around to see which placement looks the best. I used three larger flowers on the bottom and worked the smaller ones on top.
Attach the flowers by tightly wrapping them in their place with wire. I also glued the flowers and leaves for reinforcement and to manipulate their placement.
This wood bead wreath with flowers can easily be customized for any season or holiday by swapping out the greenery and florals. Just wrap the florals securely with wire instead of attaching them with glue.
If there are gaps, tuck more greenery or small florals to fill in the spaces.
Your personalized DIY wooden bead wreath is now ready to grace your home with its unique charm. Experiment with bead sizes, colors, and arrangements to make a wreath that reflects your individual style.
Whether you’re a seasoned DIY enthusiast or just starting this wooden bead wreath project is a perfect way to showcase your creativity and enhance your living space.

Here’s a look at a few more beautiful wood bead wreaths to inspire you.
-DIY wood bead wreath super cute for spring made by Nicolle at Our Tiny Nest
-This wooden bead floral wreath was created by Jolly Jane way ahead of the trend in 2011, and it is still going strong!
-DIY wooden bead wreath seasonally interchangeable by Her Happy Home
-Wood bead wreath for the holidays by The Navage Patch
houzewize
My name is Sherry Calamia, a mom, a wife, a DIYer, and a lover of all things beautiful and creative. This blog was created out of my enthusiasm for interior decorating, do-it-yourself projects, art, and food. I love the challenge to create a beautiful space on a budget armed with a little ingenuity.


2 Comments
Anna Price
This is such a simple tutorial and it creates a perfect wreath for spring. Thank you for sharing!
houzewize
Thank you!